

")


A severe storm just rolled through your neighborhood. Trees are down, the power's out, and you're standing in your kitchen wondering whether your roof just took a hit. What you do in the next 24 to 72 hours makes a real difference in how this plays out, both for the repair itself and for your insurance claim.
Here's the step-by-step process, in the order that matters.
Step 1: Make Sure Everyone Is Safe
Before you think about your roof, make sure your family is safe. If you hear creaking, see sagging ceilings, or notice cracks in load-bearing walls, get everyone out of the house and call 911. Structural damage from a fallen tree or tornado-force winds can make a home unsafe to occupy.
Check for downed power lines around your property. If a line is down on or near your home, do not touch it. Call ComEd (800-334-7661) immediately and stay at least 35 feet away. Water on the ground near a downed line creates a serious electrocution risk.
Once you've confirmed the structure is sound and there are no electrical hazards, you can start assessing the situation.
Free Storm Damage Inspection
Haag-certified inspectors. Full photo documentation. Insurance claim support from filing to final payment.
Get My Free InspectionOr call (630) 414-9160
Step 2: Assess Damage from the Ground
Walk the perimeter of your home and look for obvious damage. Don't climb on the roof. Wet shingles are dangerously slippery, and you don't know what's been weakened underneath.
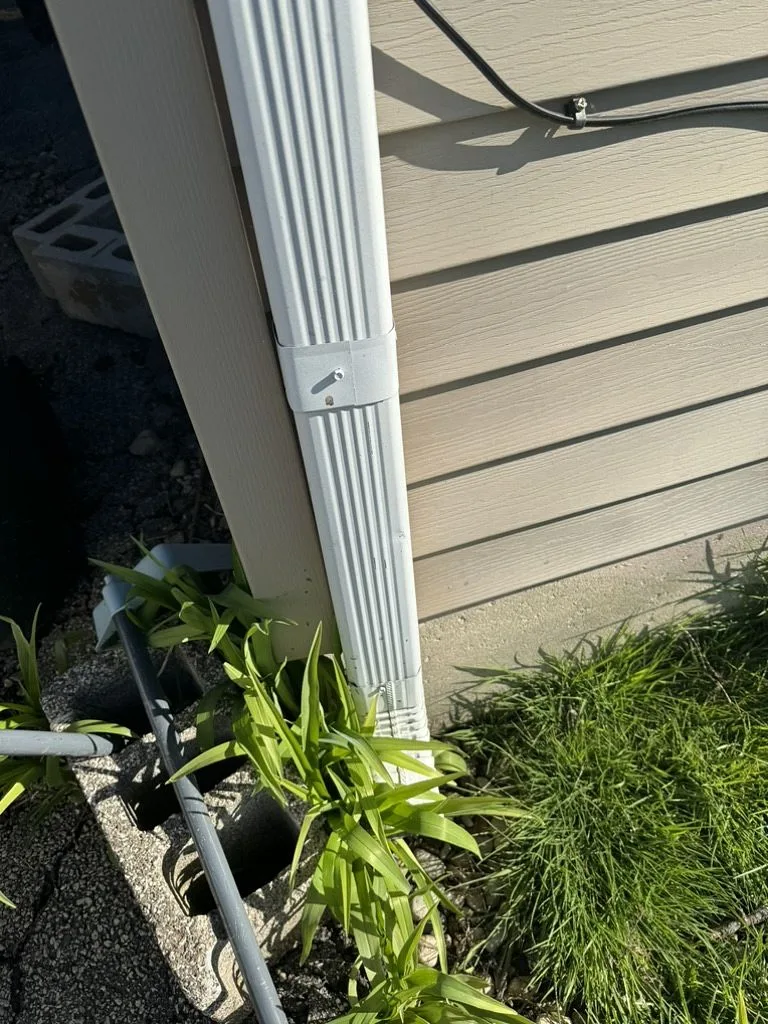
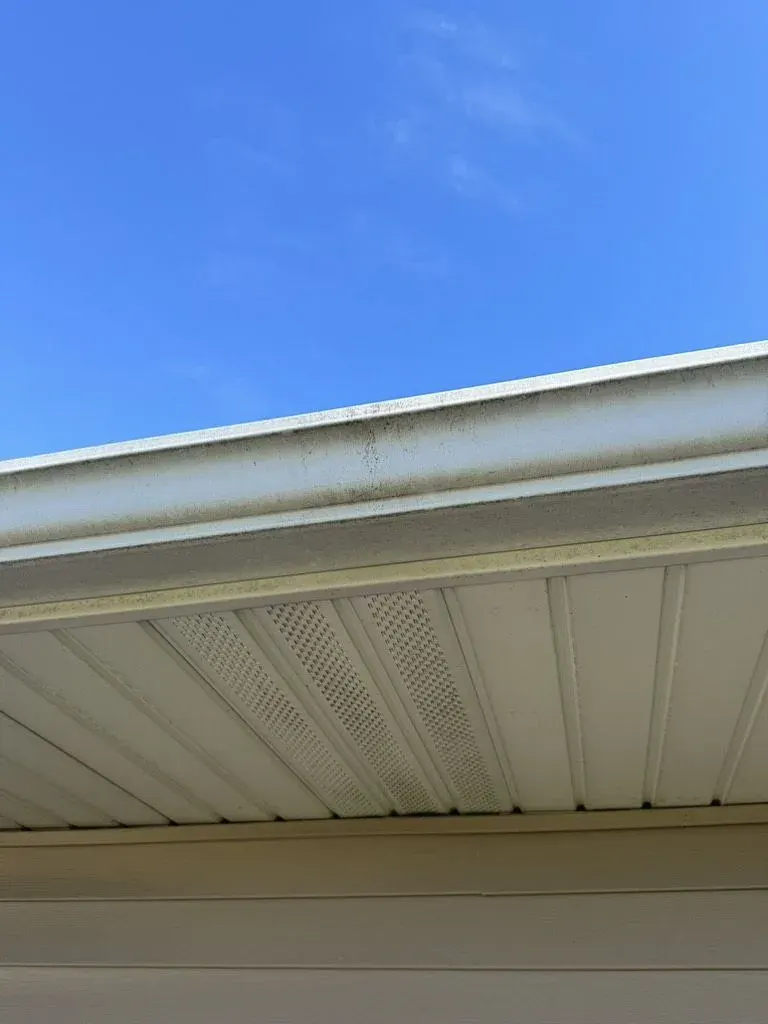
From the ground, look for missing shingles, flapping tabs, exposed underlayment, damaged ridge caps, and dented gutters. Check the yard for shingle debris, pieces of flashing, and vent caps that may have blown off. Look at your siding, window screens, and AC condenser for hail dents or impact marks.
Inside the house, check ceilings for water stains, drips, or bulging drywall. Go into the attic if you can safely access it and look for daylight coming through the decking, wet insulation, or active water intrusion. These interior signs help your inspector and your insurance adjuster understand the full scope of damage. If you're not sure what to look for, our guide to spotting storm damage from the ground walks through every indicator.
Step 3: Document Everything Before Cleanup
This step is critical, and people skip it all the time. Before you pick up debris, sweep the driveway, or start any cleanup, take photos and video of everything you can see.
Photograph the roof from every angle the ground allows. Photograph debris in the yard, especially any shingles with nail holes that prove they were torn off. Photograph dented gutters, damaged siding, cracked windows, and any hail on the ground (use a coin or ruler for scale). If you have access to the attic, photograph any water intrusion or daylight visible through the decking.
Date-stamped photos are your first line of evidence. They establish what the damage looked like immediately after the storm and support your claim if there's any dispute about when the damage occurred.
Step 4: Protect Your Home from Further Damage
If your roof is actively leaking or sections of shingles are missing, you need to prevent additional water damage. Our emergency roof leak repair guide covers what professional tarping looks like and what it costs. Illinois homeowner policies include a provision requiring you to take reasonable steps to mitigate further damage. This is called your "duty to protect."
Inside, move furniture and valuables away from leak areas. Place buckets or bins to catch dripping water. If you can safely access the attic, draping plastic sheeting over the affected area of the underside of the decking and directing water into a container can reduce interior damage.
For exterior protection, call for professional emergency tarping. A properly installed tarp, secured with weighted boards and screws into the decking, will keep water out until permanent repairs can be made. Do not attempt to tarp your own roof. The combination of a wet, damaged surface and unfamiliar heights is how people get seriously hurt.
Need Emergency Tarping Right Now?
We dispatch crews within hours for active leaks and exposed roof sections. Call us directly or submit the form below for immediate response.
Get My Free InspectionOr call (630) 414-9160
Step 5: Call a Qualified Roofer Before Your Insurance Company
This is the step most homeowners get backwards. The instinct is to call your insurance company right away. Resist it.
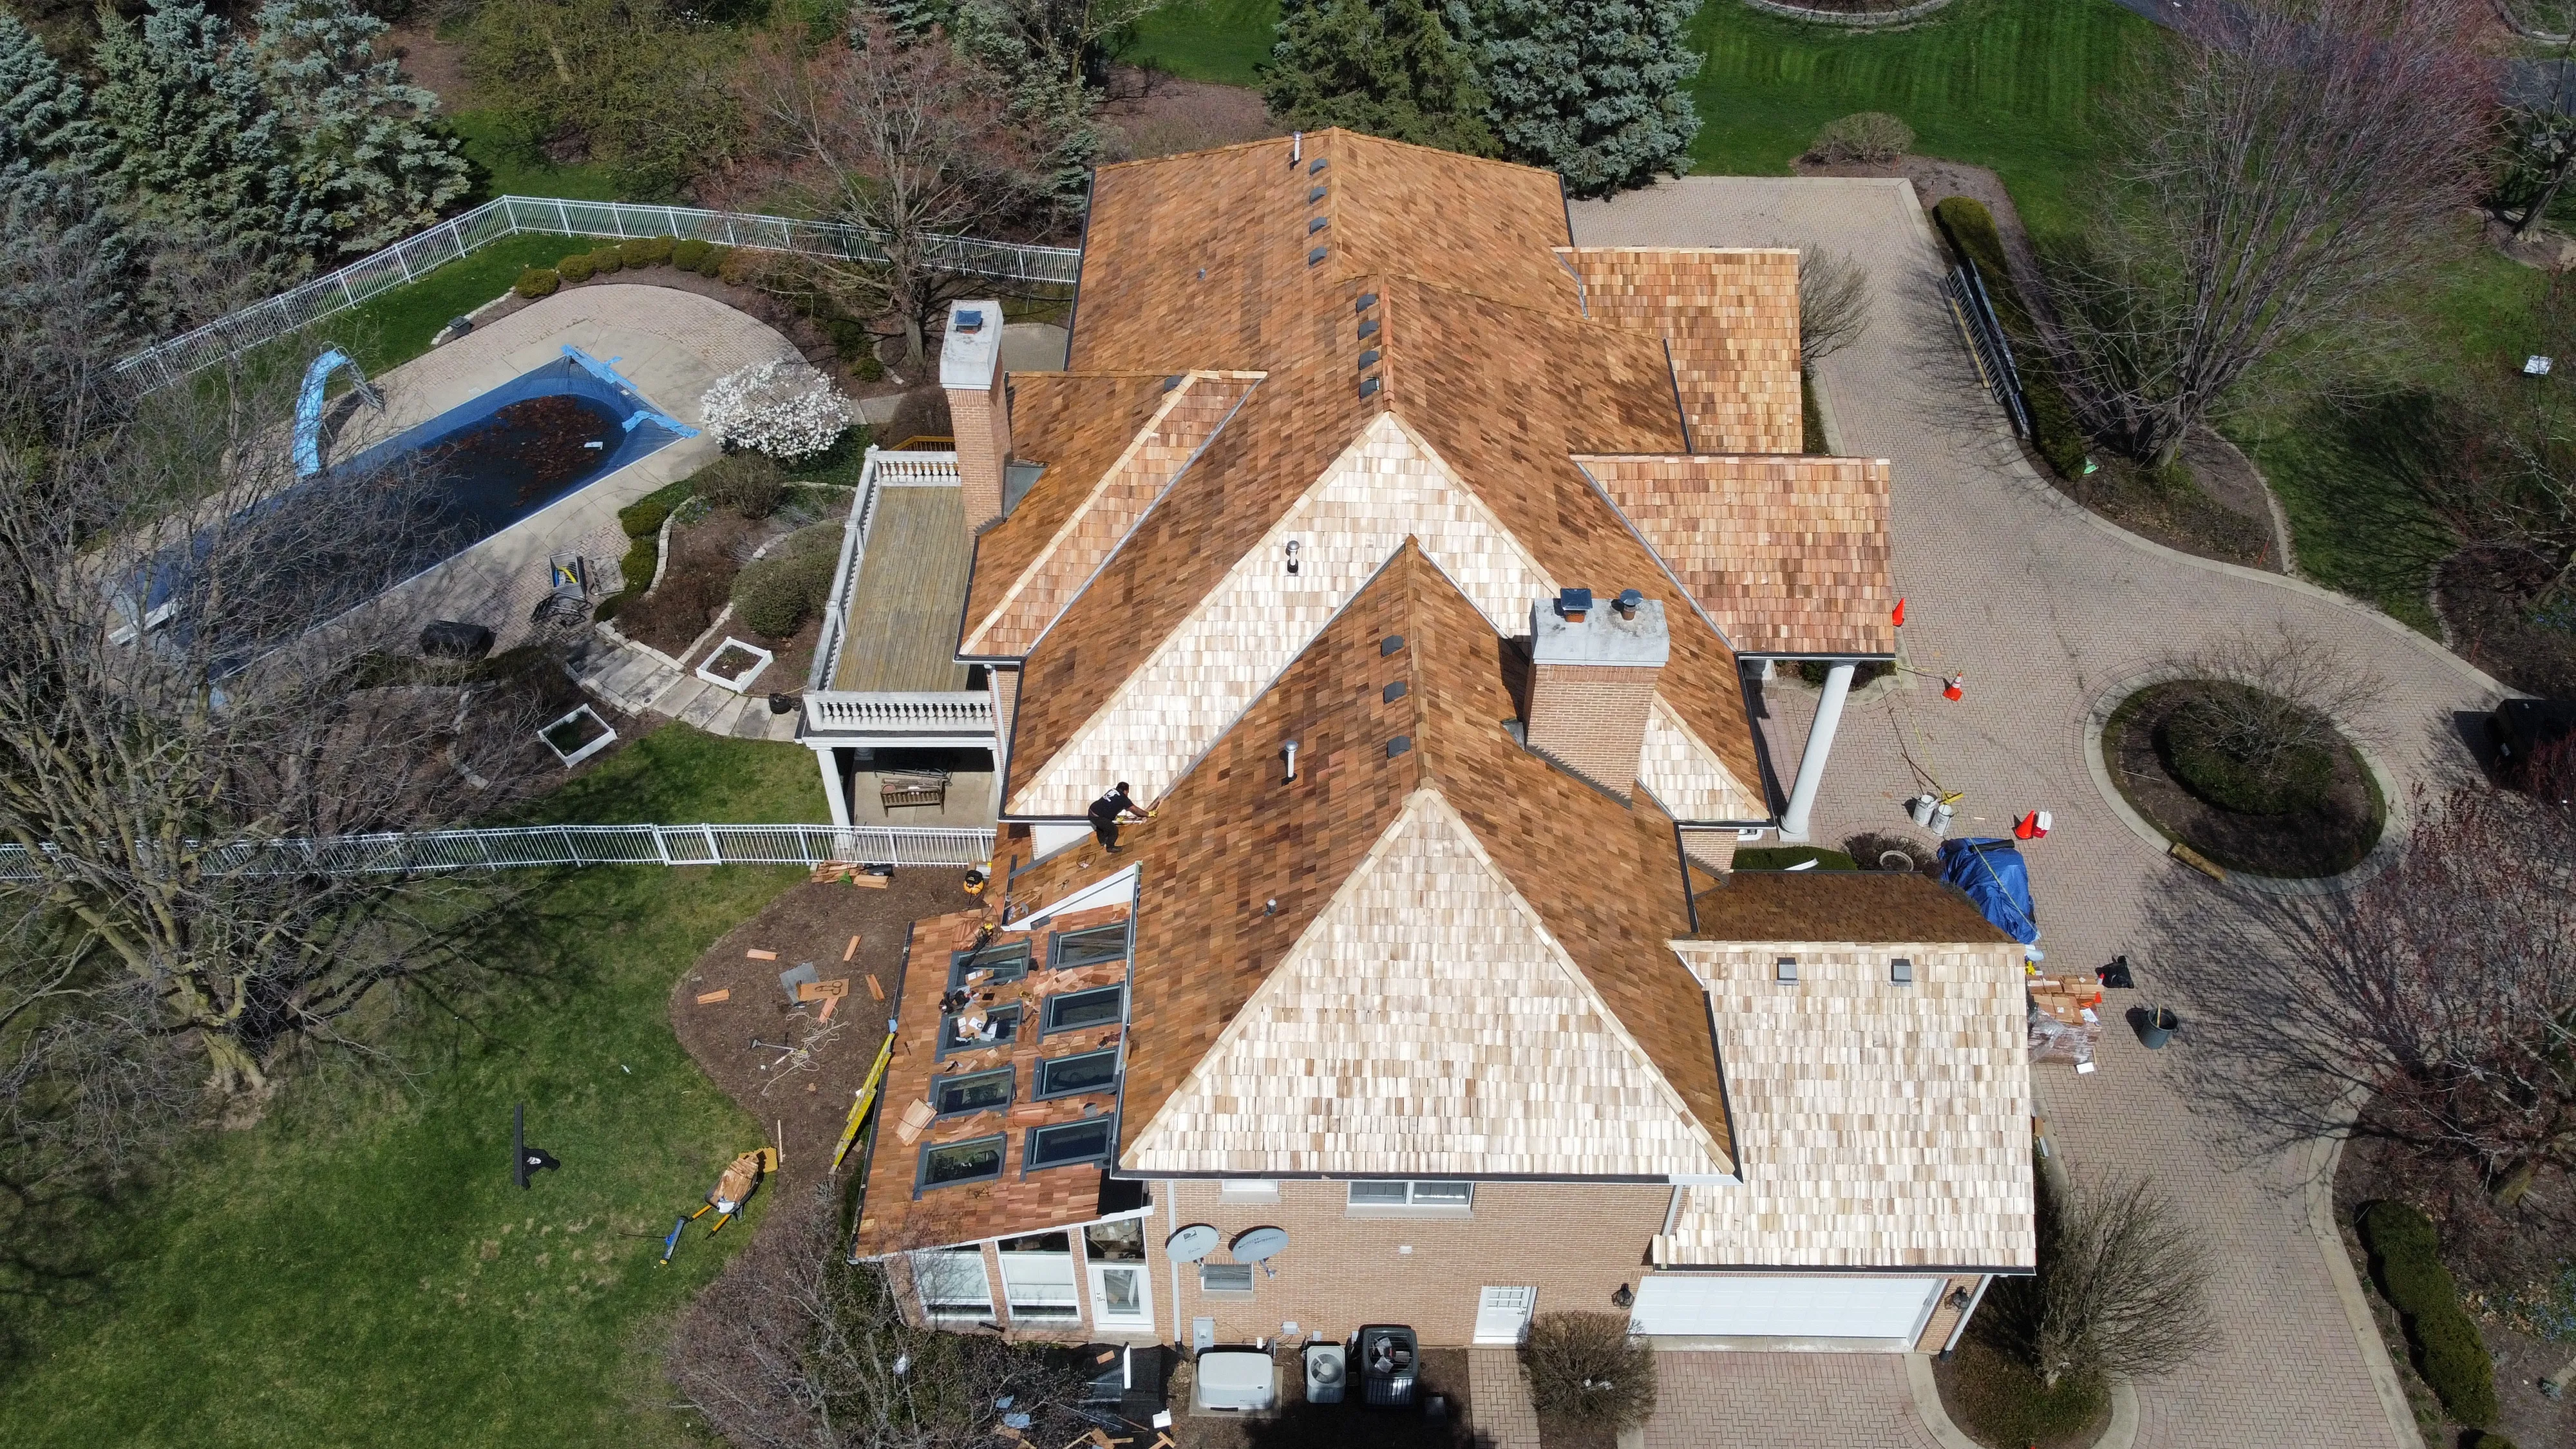
Call a qualified storm restoration contractor first. Have them inspect the roof, document the damage with photos and test squares, and provide a written scope of work. This documentation becomes the foundation of your insurance claim.
When you file the claim, you'll already have evidence in hand. When the adjuster comes out, your contractor should be present to walk the roof with them and make sure every area of damage is seen and counted. This approach leads to better claim outcomes than filing blind and hoping the adjuster catches everything in a 20-minute visit.
Step 6: File Your Insurance Claim
With your inspection report in hand, call your insurance company and open a claim. Most Illinois policies give you 12 months from the date of the storm event, but don't sit on it. The longer you wait, the more the damage degrades, and the harder it becomes to attribute to a specific storm. See our breakdown of Illinois claim filing deadlines for the full picture.
When you file, provide the date of the storm, a description of the damage you've observed, and let them know you have a professional inspection report. The insurance company will assign an adjuster to inspect your property. Coordinate with your contractor to have them present during the adjuster's visit.
If the adjuster's estimate comes in lower than your contractor's scope, don't panic. Your contractor can submit a supplement with supporting documentation. Supplementing is a normal part of the insurance claim process and doesn't indicate a problem with your claim.
What NOT to Do After a Storm
Don't climb on the roof. This one is worth repeating. Wet, damaged roofs are unstable. You can't properly assess storm damage from on top of it without training anyway, and a fall from a residential roof causes serious injuries.
Don't sign with door-knockers. Storm chasers descend on damaged neighborhoods within hours. They'll offer free inspections and push you to sign a contract on the spot. Many are from out of state, carry no local license, and will be gone before the warranty they gave you means anything. Take your time, check credentials, and verify a permanent local address.
Don't throw away damaged materials. Broken shingles, dented vent caps, and cracked flashing are evidence. Keep them in a pile in the garage until your inspection and claim are complete. Adjusters sometimes want to see physical samples.
Don't make permanent repairs before the adjuster visits. Emergency tarping is fine and expected. Full repairs before the adjuster sees the damage can complicate your claim. The adjuster needs to observe the damage firsthand to approve the scope of work.
Timeline: What Happens When
Hours 1 to 24: Safety check, ground-level assessment, photo documentation, emergency tarping if needed.
Days 1 to 3: Professional roof inspection with full documentation. File insurance claim.
Days 3 to 14: Insurance adjuster visits the property. Your contractor meets them on site. Initial estimate issued.
Days 14 to 30: Scope finalized (supplements submitted if needed). Materials ordered. Repair or replacement scheduled.
Days 30 to 45: Repair or replacement completed. Final inspection. Depreciation holdback released (if applicable).
This timeline assumes the storm didn't overwhelm every contractor and adjuster in the county. After major events like the March 2026 DuPage County hailstorm, demand surges and every step takes longer. That's another reason to move quickly. The homeowners who get in line first get scheduled first.
Get Moving
The hours and days after a storm are when your decisions matter most. Document before you clean up. Get a professional inspection before you file a claim. Don't sign with strangers. And above all, don't ignore possible damage just because you can't see it from the ground.
When it's time to choose a contractor, use our 8-point contractor checklist to separate legitimate companies from storm chasers. Verify their address, insurance, certifications, and contract terms before you sign anything.
If you're in Naperville, Downers Grove, Aurora, or anywhere in the Chicago suburbs, we can have an inspector on your roof within days. The inspection is free, and the report is yours to keep regardless of what you decide to do next.